Create and schedule backup
MONITOR Installation manager is used to create and schedule backup tasks of actual company databases in MONITOR G5.
-
Go to the Backup tab in the installation manager and click the button New backup task
 .
.
-
Under the Settings tab you enter a Name for the backup task.
The default Backup folder for a new backup task is the Standard path for backup files found at the bottom of the Backup tab. This is where the backup files* are saved. You can select a different backup folder for the backup in question.
Truncate log file (default) means the current log file "monitor.log" is cleared of transactions. Truncation is made to minimize the size of that file.
-
Under the Databases tab you mark the database to include in the backup task. When you select a database the button OK will be activated and you can go ahead and create the backup task.
But before you do that you can go to the Schedule tab and configure the scheduling of the backup task. An alternative is to do it afterwards using the button Edit backup task
 under the Backup tab.
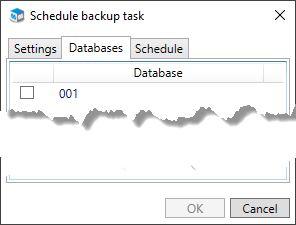
-
Under the Schedule tab, the option Scheduled task is marked by default.
You should then select Type. The options are Week, Month, and Last day of the month. Type is by default set to Week.
You also select Time and mark the Days or Months when the backup task should run.
If Type has been set to month then you also get to select a Date in the months when the backup should run.
You can also create manually backup tasks by deactivating Scheduled task. You run manual backup via the button Start
 under the Backup tab in the installation manager.
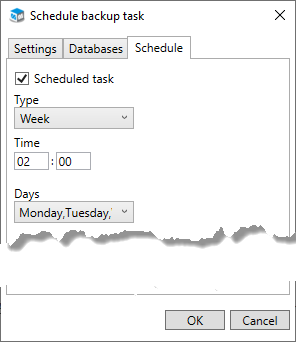
- Finally, you click the OK button to create the backup task.
If you need to change an existing backup task you select the task under the Backup tab and click the Edit backup task button . Then you can make the changes you want according to item 2–5 above.
The backup files are copies of the current database file "monitor.db" and the current log file "monitor.log". An additional copy is also created here of the current log file, with todays date and time in the file name; "monitorYYYY-MM-DD HHMMSS.log". This means that log file will never be overwritten when the backup task is run the next time. All files are saved in a sub-folder with the same name as the actual (live) database folder, for example "001".
Please note! The backup files "monitor.db" and "monitor.log" become overwritten each time the backup is run! That is why it is important to always backup the entire backup folder after the backup task has run. Save the backup copies in a protected location.
The general backup settings refer to notifications via e-mail when a backup has failed to run. You only need to configure these settings once. These settings will then apply to all backup tasks you create or have created.
- Click the button Backup settings
 at the bottom left corner of the Backup tab in the installation manager.
 -
Under the Notifications tab you can activate that notifications should be sent via e-mail to the recipient/recipients you have entered in the field in cases where backup tasks fail. You can enter more than one e-mail address by separating them using semicolon (;) in the field. With the Test e-mail button you can send e-mail to recipients to test the function.
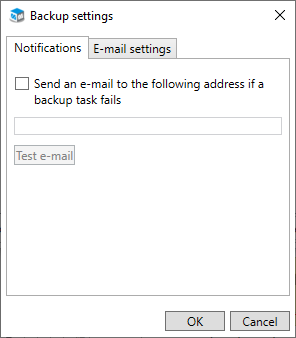
Detailed information about failed backup tasks are saved in a log file (Monitor.Server.log) which you find in the folder "C:\Program Files (x86)\Monitor ERP System AB\Logs" on the server.
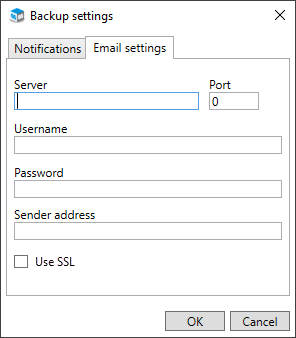
- Under the tab called E-mail settings you configure which Server (e-mail server) and Port to use to send notification via e-mail. You also enter a User name and Password for a Windows account which have permission to send e-mail via the entered e-mail server. In the Sender address field you enter an e-mail address which will function as the sender of the notifications. Activate Use SSL if the e-mail server requires it. Then you should also enter which Port the e-mail server uses for SSL.
- Click the OK button when you have completed the general backup settings.
|
Feedback:
|
||

|
  
|