The Configuration window
In a configuration you make different choices to create a product in a certain design/variant. You perform the configuration in a configuration window, in connection with registering a quote row, customer order row, and manufacturing order. You can also configure when you pre-calculate or simulate a manufacturing order.
You open the configuration window in the affected procedure via a button with the following symbol  if a configuration is missing, and with the following symbol
  if there is a valid configuration. On a new quote row and customer order row, a configuration window is normally opened automatically when you leave the part number field. This happens when the part is possible to configure, that is, if it is linked to a configuration group. If it should be opened automatically is determined by the configuration setting Open automatically in the part register.
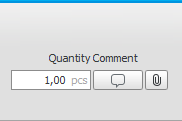
In the top tight corner you enter the quantity of the part which should be configured, provided that it is a quote row or customer order row which is concerned. It is the same quantity as in the Quantity field on the quote row or customer order row. This field is not available for manufacturing orders. There you always see the quantity on the order. In the top right corner you can also enter an internal comment and link files to the configuration.
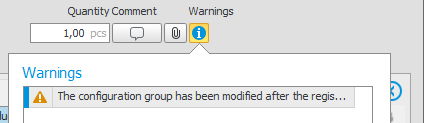
If there is a warning belonging to a configuration this will also be displayed here at the top to the right under the heading Warnings and under the button  in the window. A reason for a warning might for example be that the configuration groups has been modified after the saving of the configuration.
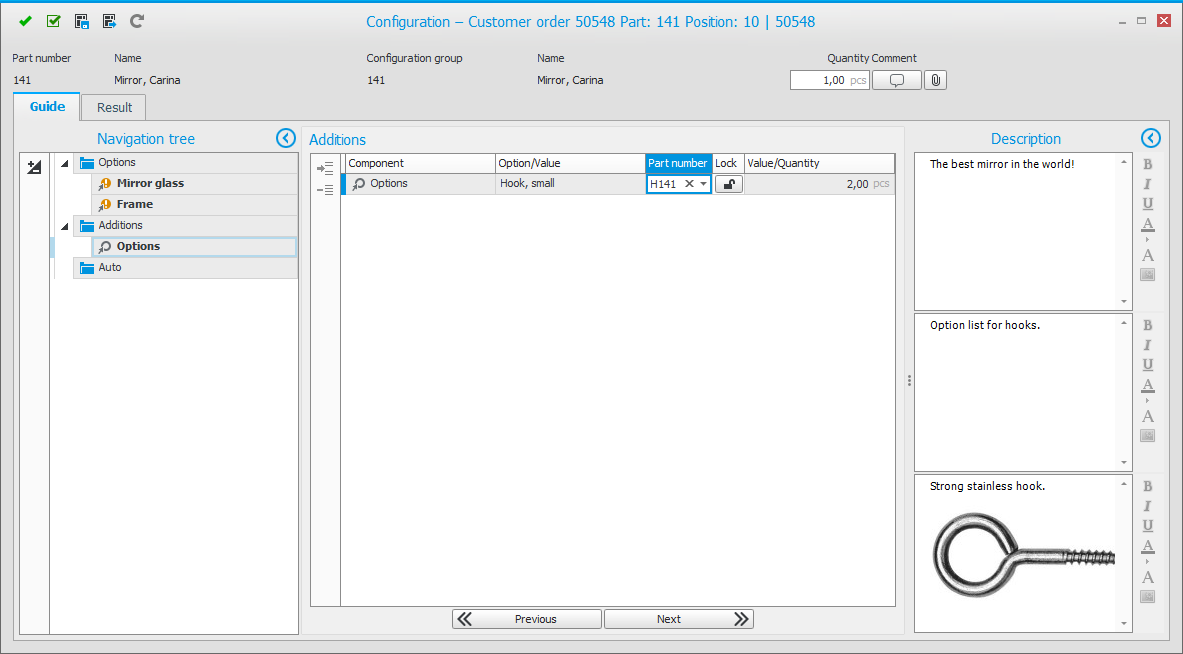
Under the Guide tab you find a table where you configure the product. Each section in the configuration group is shown as a page.
By using the Tab key you can easily shift between the different variables and option lists. To see the available options (parts) of an option list you can press Enter and then F4, or you can click in the field.
With the Lock button  you can lock/unlock your option for each row. It might be good to lock an option if you wish to prevent a rule to change the option on the row.
Validations are made all the time to make sure that the options you select and the variable values are valid. Errors, if any, are displayed with an error symbol  in front of the field and in the validation window in the bottom section of the window. A tooltip over the error symbol and a text in the validation window will let you know what the problem is.
By using the buttons Next and Previous at the bottom of the tab, you can navigate between the sections. In the left box called Navigation tree you can see the entire structure of the configuration group and you can also navigate between the items.
In the right box called Description you can see descriptions (comments). It is divided in three sections. At the top you see the general description for the configuration group. In the middle you see the description of the option list or variable which is marked in the guide. At the bottom you see the description of the selected option.
Under the Result tab you find a table showing the result of the configuration, with all selected components and you also see to which option list they belong.
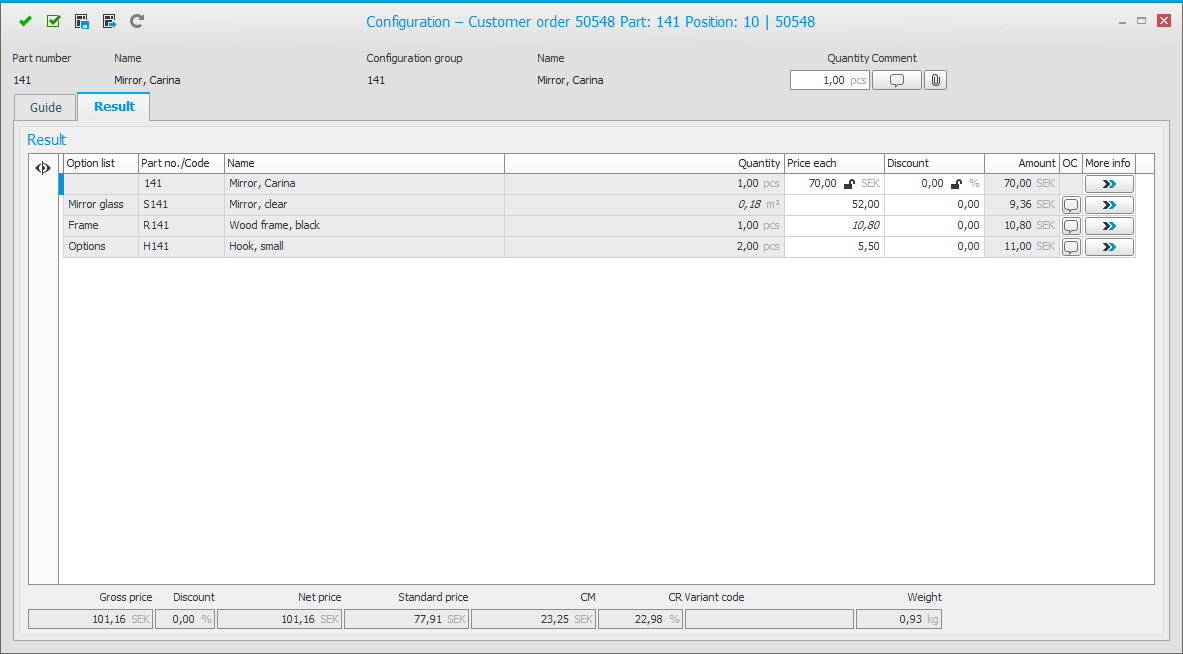
Here you can change price each, mark-ups, and discount for each selected part. If there are variables and you choose to show them with the button Show variables  , then you can also change the variable values in the result.
The price handling is the same as on an order row, except you can here enter a different price list in the customer register which can be used for configured parts and their options. If you use a special pricing via order type, this will also apply in the configurator.
If you manually change a price each or a discount, this will lock when you leave the field. This is to prevent the system from changing a price you entered specifically in the configuration, for example after a change in the configuration. You can also unlock the field by clicking the padlock button  in the field so that button shows that the field is unlocked .
If the price each is calculated via a formula this is shown in italics and the field is locked. Then it is possible to unlock the field using the padlock button. If the quantity is calculated via a formula, this will also be shown in italics. For both price each and quantity which are calculated using a formula, the formula can be displayed in a tooltip if you hover over the field.
By clicking the button OC (option comment) you can enter comments for all selected components and variables. These comments will by default be shown as sub-rows (text rows) for the selected components on the different documents: customer order, manufacturing order, and purchase order. But this is also possible for you to override, meaning you can uncheck the comment checkbox for a specific document and then it will not be shown there. Please note! If the row (which you are entering a comment for) has been set not to be shown on documents, then the comment will also not be shown. Also note! The general document setting Show configuration for documents in the procedures Document settings and Document templates – Manufacturing order, determine if configurations and option comments, if any, should be possible to show.
By clicking the button More info  you find the columns mark-up, contribution margin (CM), contribution ratio (CR), net price, standard price, setup quantity, weight, for operation, price formula, quantity formula, setup quantity formula, variant code, alternative name, and main part. If there are sub-rows with parts which are included to components in the option list, the button Option lists – Sub-rows becomes visible. There you can see the parts in question. These are not possible to deselect, these are parts which are always included with the selected component.
You can, when needed, drag the wanted columns from under the More info button out to the table. This way the columns will be shown in the table until you close the procedure. If you want the new layout to apply permanently for you in the procedure in question, you can use the button Layout on the toolbar in the procedure to save it, for example in the Register customer order procedure.
If you wish to affect the price on a row you can do it either by changing the price each, discount, or mark-up. If you change the mark-up the price each will automatically changed and both fields become locked. The CM and CR will also be recalculated. The mark-up shown from the start is calculated as ( Price each - Price alternative CM ) / Price alternative CM x 100. That is, how many % will be added on the selected price alternative for calculation of CM. If you change the mark-up the price each will be updated according to ( 100 + Mark-up ) / 100) x Price alternative CM and the price each field becomes locked.
The price which the CM is based on is decided by the system setting Price alternative for calculation of CM in the configuration window.
Setup quantity, quantity formulas, variant code, and main part, are loaded from the component in the option list. Weight and price formula is loaded from the part register.
At the bottom you see a total of gross price, discount, net price, standard price, CM, CR, variant code (as result of the selected components), and weight each of the configured part. The informations here will be updated directly when you make a change, for example if you modify the discount.
You can confirm a configuration either by using the button Confirm  at the top of the configuration window (which also closes the configuration window), or with the button Confirm, but do not close the window
  . The latter button is useful if you are using check of delivery times (CDT) and wish to see how a change in the configuration (for example a change of quantity) will affect the delivery date/finish date. CDT is run when you confirm the configuration.
When you confirm a configuration on quote row, customer order row, or manufacturing order, a pre-calculation is also saved for the configured part, based on the entered quantity. If for example the quantity or other data in the configuration has been changed, a new pre-calculation will be saved for the part. When you report a manufacturing order as finished (transfer to stock), the quantity reported as finished x the configuration's calculated price will be saved. If the configured part is activated for traceability (Batch or Serial number), the configuration will be saved on the batch numbers/serial numbers which are arrival reported when you report as finished.
When a configuration is confirmed, the total net price is saved to the price each on the order row. The weight on each component in the configuration is shown in total and becomes saved to the order row. A pre-calculation is then also made and the result from that calculation will be saved to the standard price on the order row.
Please note! The price each which the configuration has resulted in will not become updated if you make any changes directly on the order row, for example quantity or date. If you in the other hand open the configuration and make changes in it, then a new price each will be saved. But if the price field is locked on the order row, it is impossible for the configuration to update that price!
When there is a confirmed configuration on a quote row or order row, the configuration button is shown with a different symbol which lets you know that the row has a valid configuration.
You can synchronize an existing configuration with the most recent version of the configuration group. This is done in cases where changes have been made in the configuration group or that the configuration was saved and you want those changes to affect your order. If changes have been made which might require a synchronization, this will be shown as a warning in the top right section of the configuration window. You then use the button Synchronize with configuration group  at the top of the configuration window. In a dialog box you get to confirm that you want to do the synchronization.
After a synchronization you should check that the configuration is correct.
If you have created a manufacturing order and then change it in the configuration (either directly in the manufacturing order or in the linked customer order), then you should do a synchronization with BOM and routing when you save the order. The procedure Synchronize with BOM and routing will then open automatically and there you use the button Run synchronization check  (Ctrl + R) and save in the procedure. This way you get the configuration synchronized with the BOM and routing. This means that changes made, if any, in the BOM and routing will update your configuration. It is also via this synchronization you get the changes you made in the order's configuration to affect the manufacturing order.
With the button Save as template  at the top of the configuration window you can choose to save the configuration in question as a template for the part's configuration group, on quote row, order row, or in the pre-calculation.
By using the button Load template  you can load a saved configuration, either from a template, customer order, quote, or manufacturing order.
If the part's configuration group has been modified, it might result in the configuration in a template becoming invalid. In that case you will see information about what is invalid. You can still choose to load the template or you can cancel. In that case you should edit the configuration in the template. This is done in the Configuration templates procedure. In that procedure you can also create new templates for configuration groups, copy (clone) templates, or delete unnecessary templates.
Please note! It might be necessary to edit a template if the configuration groups it belongs to has been changed!
In the Part register procedure you can in the field Default configuration/template select a template if the part in question is linked to a configuration group. This means, when the configuration window is opened the first time for the part on a new quote row or order row, the configuration in the selected template will also be loaded.
Insert new row  (Shift + F5) is active if you are on a row for a free selection/option in the option list. Under the Guide tab you can use this button to insert additional selection rows.
Show variables displays the variable values included in the configuration under the Result tab. You can also change these values directly in the result.
|
Feedback:
|
||

|
  
|