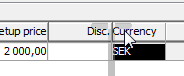
In all tables and in lists of the "grid type" (for example the list in the Purchase Order Suggestion procedure) the columns are flexible. You can change the column width by clicking and dragging the joint line between two column headings with your cursor. You can also move around the columns by clicking and dragging over a column heading with your cursor and move the column to a new position in front of or after another column.
Purchase Order Suggestion when changing column width.
It is possible to save a change of the column width or a change in the column positions for the specific list/table so that it will remain the next time you start MONITOR. You save by right-clicking over the list/table and selecting Layout and Save layout in the Info menu. You can also restore the original appearance by going to Layout and using the Reset standard layout alternative.
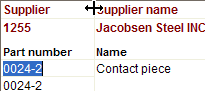
To move around columns in different positions so that is suits your own wishes is useful in many different windows, for example in the Inventory Log in the Part Info procedure, or for operation and material rows in Adding / Replanning procedure.
The Adding / Replanning when moving a column.